Mini shovel loader maintenance: drain the hydraulic oil in the transmission first, and then Mini shovel loader remove the 10 (M10) bolts on the transmission end cover × 30) fix the Mini shovel loader bolts and remove the lower end cover; Screw 2 M10 bolts into the lifting screw hole of the intermediate output gear, and take out the Mini shovel loader direct retaining ligand; Unscrew 8 screws (M10) on the middle cover plate × 40) fix the bolts, and take out the assembly of gear I oil cylinder assembly and gear I piston; Remove Mini shovel loader 15 springs and spring pin shafts; Remove the Mini shovel loader driving and driven friction discs (1 disc each) of the gear I clutch, and then take Mini shovel loader out the gear I inner gear ring and the remaining driven and driving discs (3 discs each); Take out the assembly of gear I planetary carrier and reverse internal gear ring. Take out the mini front loader friction plate spacer assembly; Take out the mini front loader driving and driven friction plates (3 plates each) of the reverse clutch; Screw two M10 lifting screws into the lifting screw holes of the reverse planetary gear carrier assembly to take out the reverse planetary gear carrier assembly, and then take out the remaining driving and driven friction plates (one for each); Take out the reverse piston assembly. After the mini front loader oil seal is replaced, assemble it in the reverse order of disassembly. This mini front loader in-situ maintenance method is very time-saving. The whole repair process takes only 2 hours, and it is safe and reliable. One person can complete the mammut loader repair task without using a crane. After the 2.0ton loaders is assembled, the "oil and gas" test shall be carried out. The method is as follows: first remove the variable speed distribution valve; Fill the piston cylinder of each gear block with oil through the oil passage on the housing until it is full; Align the air pipe with each oil passage port, and inject 0.6-0.8mpa compressed air. At the moment of ventilation, mini front loader is good if you can hear the "snap" sound of the piston hitting the driven plate when it is moving, otherwise it should be reassembled. Attention shall also be paid during repair: bolts, gaskets, tools and other parts shall not fall into the shell bottom; After installation, remove the mini front loader filter element and check whether there are bolts, tools, etc. falling into the shell bottom; The mammut loader bolts of the middle cover must be tightened symmetrically, and the mammut loader spring shall not pop up during disassembly; Remember the installation sequence and quantity of friction plates, and do not install them reversely or omit to install them; Do not damage the mini front loader oil seal when installing each piston; Do not damage the gasket when removing the variable speed distribution valve. If the mini front loader gasket is made again due to damage, ensure that the oil passage is unblocked without leakage, etc.
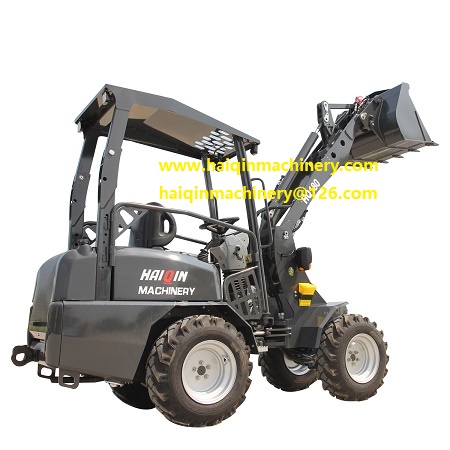
www.haiqinmachinery.com